Pre-dive regulator and first stage check is one of the most important safety steps every diver should perform before entering the water. Even if your dive operator sets up your gear, performing your own inspection ensures safety and prevents regulator issues underwater.

Essential checks on your regulators and first stage before diving
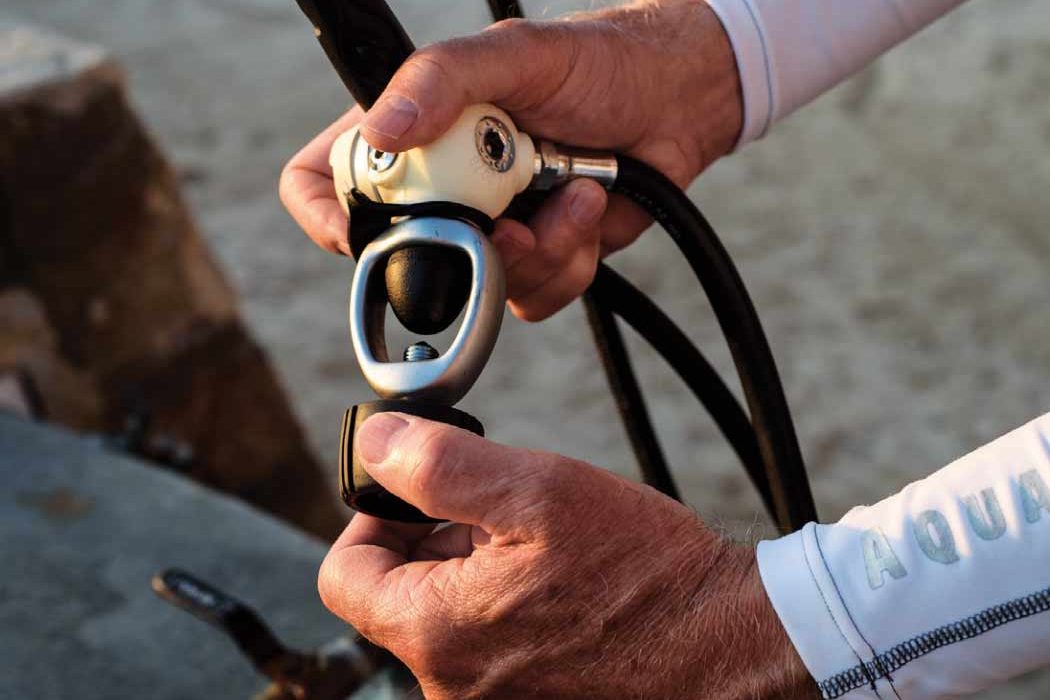
Did you check your scuba gear before the dive, or you just picked it up and jumped into the water on your last holiday?
In recent years, scuba operators has started to prepare the gear for their customers, as part of their service, which in my opinion is a very bad habit. Divers became negligent and an alarming number of them have no clue, how to set up their own scuba diving gear, nevertheless check it for any faults.
We have all learned how to set up our gear during our Open Water Diver course and how to perform a pre-dive safety check, so use that knowledge! Your gear is ultimately your responsibility and it keeps you alive underwater.
Check #1: Attach the first stage to your tank and BEFORE TURNING ON THE VALVE, try to inhale through both the second stage and the octopus.
- You should not get any air through either second stage.
- You should hear a clicking sound as the diaphragm depresses the lever all the way.
- You should not hear any leaking sounds.
The average diver can inhale hard enough to create about 20 inches of water of negative pressure and what this test ensures is:
- There are no holes in the diaphragm;
- The diaphragm and exhaust valve are properly seated;
- There are no cracks in the second stage case; and
- As an added bonus this check will also detect an improperly seated first stage inlet connection to the tank valve, as 20″ of water is enough negative pressure to draw air all the way through the first stage if it is not properly seated on the valve.
Check #2: Attempt to exhale through each second stage.
- Be able to exhale normally through each second stage.
What this ensures is:
- The exhaust valve is not stuck to the seat.
In some cases as you apply increased exhalation pressure, you’ll feel the valve “pop” open. If this occurs:
- Repeat Check #1.
This will ensure:
- The exhaust valve was not damaged;
- The diaphragm is still properly seated; and
- There is nothing stuck on the valve seat that will prevent the valve from re-seating.
Checks 1 and 2 sound involved, but they are simple and together they take less than 15 seconds to complete.
Check #3: Turn the tank valve on and depress the purge button.
- Start to get airflow within the first 1/8″ to 3/16″ of depression.
This ensures:
- The lever is properly adjusted to provide full air flow.
If it takes more depression than that to get air to start flowing the orifice may be improperly set. This reduces the working range of the valve and can result in insufficient airflow at depth.
Some second stages, due to their cover/purge button design may take a bit more depression than that before the diaphragm and lever are even contacted by the purge button.
You should NOT:
- Hear the lever rattle if you shake the second stage.
Any rattle at all is an indication of excessive play in the lever.
Check #4: Breathe from each second stage.
- Be able to breathe normally.
- NOT hear a slight hiss/free flow when you stop inhaling.
This ensures that each second stage:
- Delivers air properly; and
- The seat and orifice in each second stage is not leaking.
If the second stage free flows slightly and you have an adjustment knob on the second stage try screwing it in slightly. Some second stages will free flow slightly with the knob all the way out, but will stop if it is turned inward slightly.
If you have to turn the knob in a lot to get it to stop, you may still be able to dive if the second stage does not free flow, but you should take the regulator in for service or to have the second stage re-tuned. (Second stage seats take a “set” in the first few weeks after an annual service and if the service tech does not anticipate this and sets the inhalation effort to light, a free flow may occur.)
Check #5: Leave the tank valve on and let the regulator sit undisturbed for 2-3 minutes.
- NOT hear a slight free flow start during the test.
This ensures:
- The intermediate pressure (IP) in the first stage is stable.
- There is no leak in the first stage orifice and seat.
A leaky first stage orifice or seat will result in “IP creep” and the increasing IP will cause the second stage to start to leak to vent the excess pressure.
If you get a leak near the end of the 2 minute period, you can probably still dive safely that day, but get your regulator serviced immediately after. High pressure orifice and seat leaks always get worse and they get worse quickly. With a small leak evident near the 2 minute mark, you won’t notice it in the water as you’ll inhale and reduce the increasing IP before the second stage has to vent the excess pressure. But it will get worse, and a large leak will cause the second stage to free flow as soon as you stop inhaling. That’s a fail-open scenario and you’ll have gas to breathe, but it wastes gas and can become serious.
***In very cold water*** that constant free flow can cause the second stage valve to freeze open and cause total catastrophic gas loss. Consequently, no degree of IP creep is acceptable in very cold water.
Check #6: Note the SPG reading and turn the tank valve all the way off.
- Observe the SPG needle remaining at the same tank pressure.
- After 2-3 minutes it should remain at or near the original pressure.
This ensures:
- There are no leaks in the entire system (first stage, second stages, inflator, SPG, and hoses).
Any decrease in pressure indicated on the SPG with the tank valve closed is caused by air leaking out of the regulator at some point.
Ideally, the SPG will hold that original pressure indefinitely. Practically speaking losing 100 psi per minute is fairly common and not a cause for alarm (although it does indicate a small leak somewhere in the system).
If the SPG pressure reading drops fast enough that you can see the needle move, you probably have a leak in the system.
Finally: If you are not diving immediately, turn the valve off and drain the system.
If you are not getting in the water in the next few minutes, leave the tank valve off, and depress the purge valve to release all the pressure in the regulator.
You do this to ensure that you don’t inadvertently gear up, look at your SPG to ensure you have a full tank, take a breath to check if the tank valve is “on,” and then jump over the side only to discover you only get 2 more breaths because the tank valve is actually off and there are 2-3 breaths remaining in the regulator.
When you check your second stage before jumping in, also look at the SPG to ensure the needle does not drop, and stay there (indicating a closed tank valve), or drop and recover (indicating a partially closed tank valve that can cause insufficient gas at depth).
Thank you for Larry Vrooman for this excellent article.